
In the last article, we explored creating a chatbot using IBM’s Watson API to onboard new employees and answer their employment and HR-related questions. We talked about the key components of a functioning chatbot; in particular, we covered intents, entities, and dialogue elements, which allow the bot to understand a user’s questions, grab specific details from those questions, and respond appropriately to the user, respectively. We also discussed the advantage of capturing context variables in slots, as the variables allow the bot to maintain some memory from previous interactions.
Before, when responding to the user, the chatbot relayed our manually entered messages when a certain condition was met. But, wouldn’t it be cool if we could extract responses directly from a source, say a website or article, instead? If an outside source already has the responses we need, we might as well save time and scrape that preexisting information to provide to our user! This is possible through the integration of Watson Discovery with Watson Assistant.
Inclusion of Watson Discovery
Watson Discovery is another service on the IBM Cloud platform. It provides intelligent searching over a dataset such as news articles or web pages.
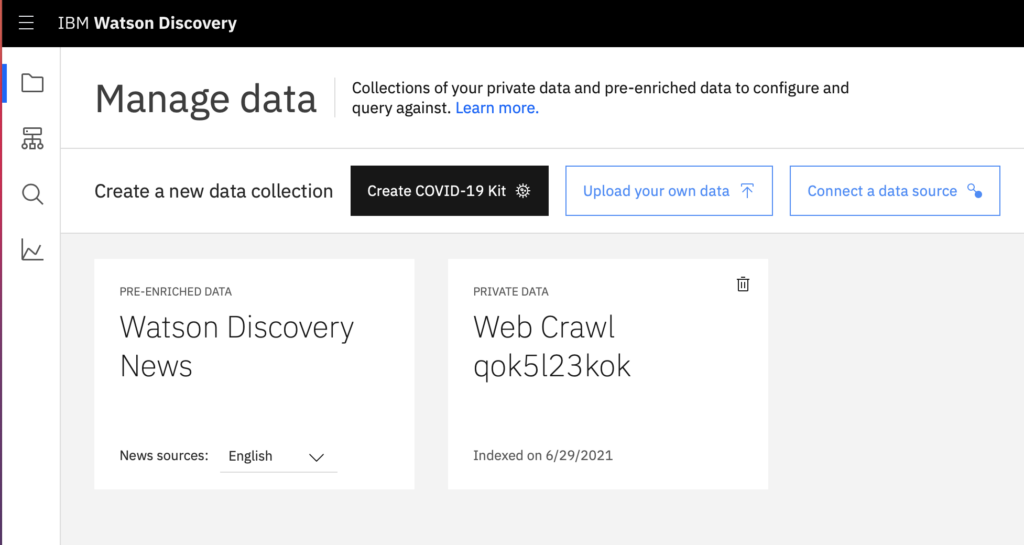
For our company bot, using processes described in the last article, we manually created intent and entity objects using sections from the employee handbook. We also input dialogue responses to reflect the recognition of those intents and entities. Yet, that took a while to do! To enhance the bot’s answering capabilities and save ourselves the pain of performing our own inputs, we can include web scraping of the Mission Data website. In particular, the inclusion will allow us to answer broader company-related questions that are beyond the scope of the handbook. To incorporate this feature into our bot, we will first need to create an instance of Watson Discovery. Watson Discovery comes with a collection of recent news data to query, labeled “Watson Discovery News,” but it also gives us the option to create a collection. While “Watson Discovery News” may come in handy for a generic chatbot, the data we want to scrape is unique to our company, so we can proceed with the latter option and select “Connect to a data source”. From there, we can include the websites to crawl and set the frequency of crawling. Once our documents have been collected, Watson Discovery is all set up and ready to be incorporated into Watson Assistant! From the newly created collection, we write down the Collection ID and Environment ID for later. Also, it is important to make note of the Discovery password and URL.
Akin to a dialogue skill, Watson Assistant has a search skill that allows it to connect smoothly with Watson Discovery. However, since we’re using the Lite plan which lacks search skill access, we will need to set up Discovery into our previously made dialogue skill. We can do so by making a cloud Function that obtains the Watson Discovery response and have that Function be called by the chatbot. We’ll use the IBM Skills Network Labs using JupyterLab (Python 3) to link our Function to the Discovery API. We configure the connection using the Collection ID, Environment ID, Discovery password, and Discovery URL saved from before. Once we’ve connected to the Discovery API, we can write JavaScript to run our query of choice with a user input parameter. There, we format and return the query result to be later collected in a dialogue node. Before collecting the response in the node, we must first invoke the endpoint on the newly created Function in the IBM cloud dashboard.
async function getPassages(queryResult) {
  try {
    const passages = [];

    queryResult.passages.forEach(p => {
      const passage = {
        passage_text: p.passage_text
      };
      passages.push(passage);
    });

    if (passages.length === 0) {
      throw new Error("No passages found");
    }

    return { passages };
  } catch (err) {
    throw new Error(err.message);
  }
}
A snippet of a JavaScript function in JupyterLab. The function takes in the result of a query (a JSON object) and isolates the passages from that object.
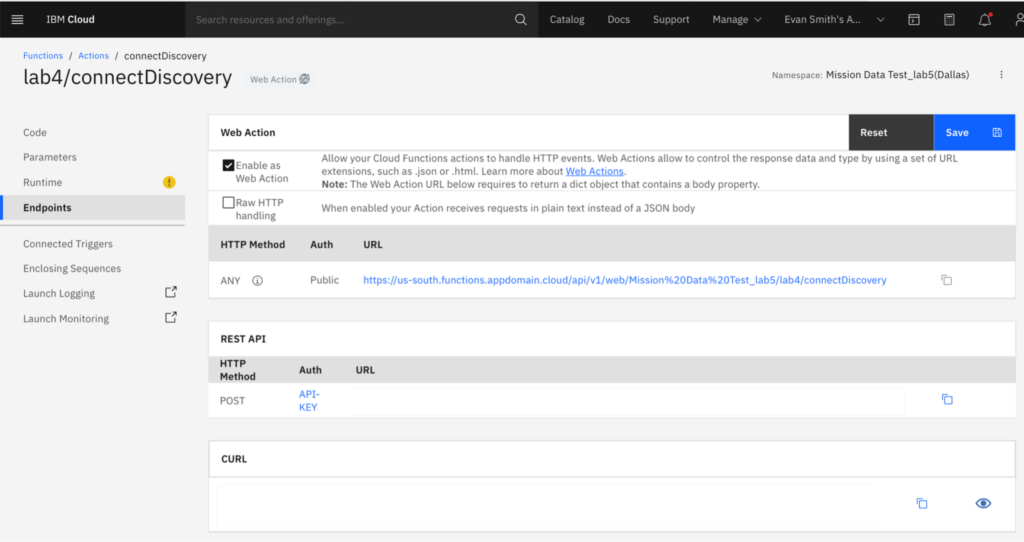
After setting up the Discovery API connection, we invoke the endpoint by finding it under the “Functions” tab in our IBM cloud. We check “Enable as Web Action” and copy the REST API. Under “Namespace Settings,” we’ll then copy the CF-based API Key credentials and return to Watson Assistant.
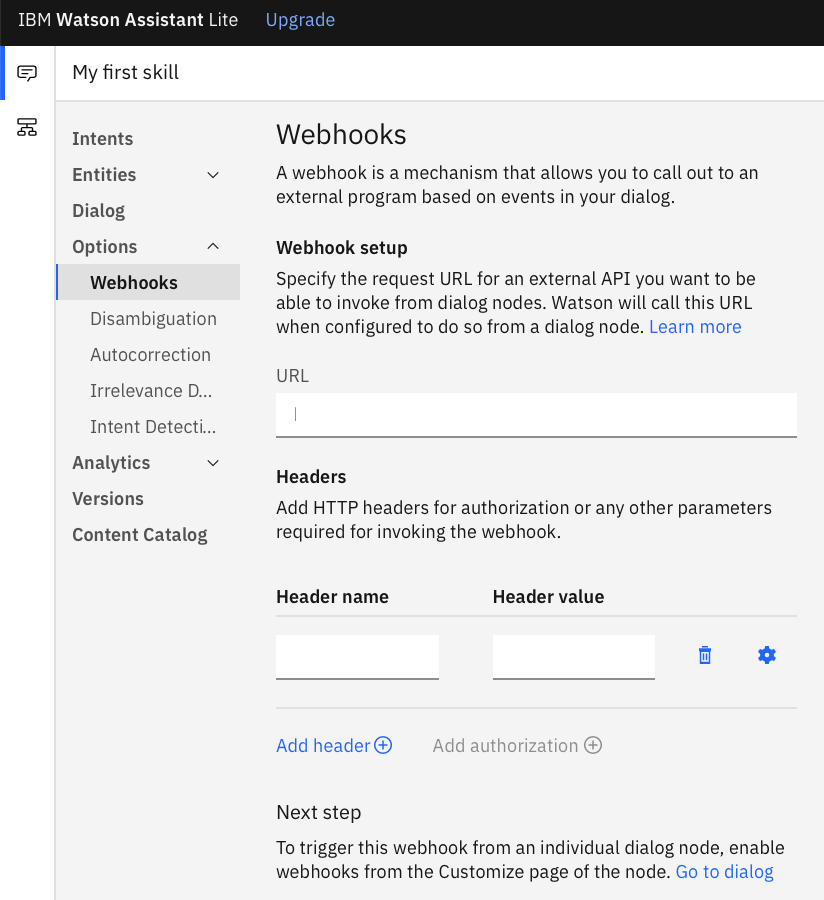
Under the “Options” tab in our dialogue skill, we want to make sure “Webhooks” is selected, and then add the Function URL and authorize using the CF-based API Key from before (where the colon separates the username and password). Before hitting “save”, we need to append ?blocking=true to our URL, which forces a synchronous call.
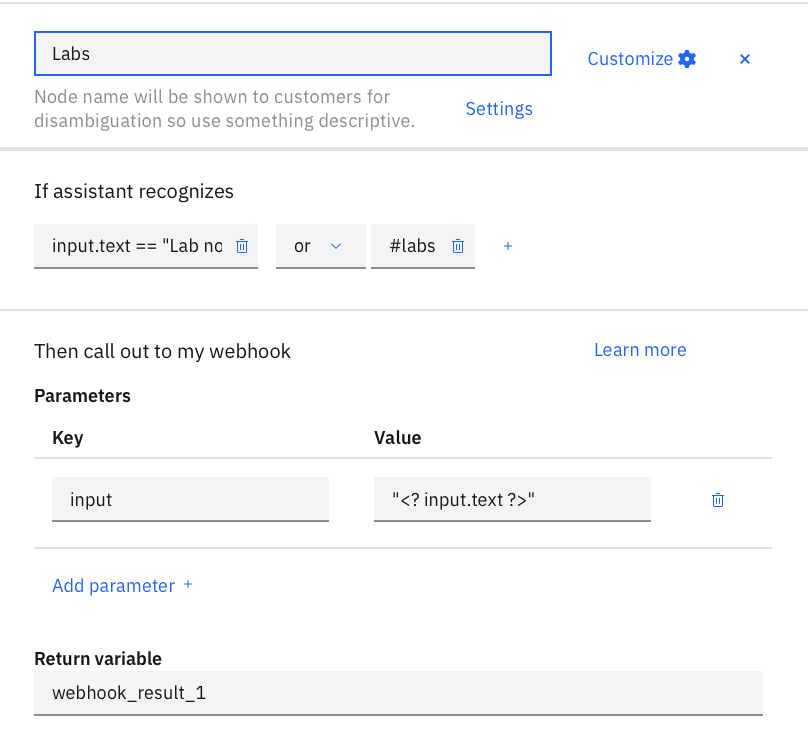
We may now navigate to the dialogue node where we want to return our query result and enable Webhooks. We add a parameter in the node (the user’s input value) to be passed into the Function we just created and voila! We are finally able to collect the query result in the dialogue node to be returned!
Slack Integration
Now that we have an understanding of how Watson Assistant can process a user’s input and respond appropriately, how does a user converse with the chatbot outside of the testing panel in Watson Assistant? We could implement it on a website or Facebook Messenger if that was our goal, but Slack is the answer for us! Slack allows us to create apps via their API to do cool things, which in our case consists of reading messages, sending the message off to Watson Assistant, and replying with Watson’s computed response.
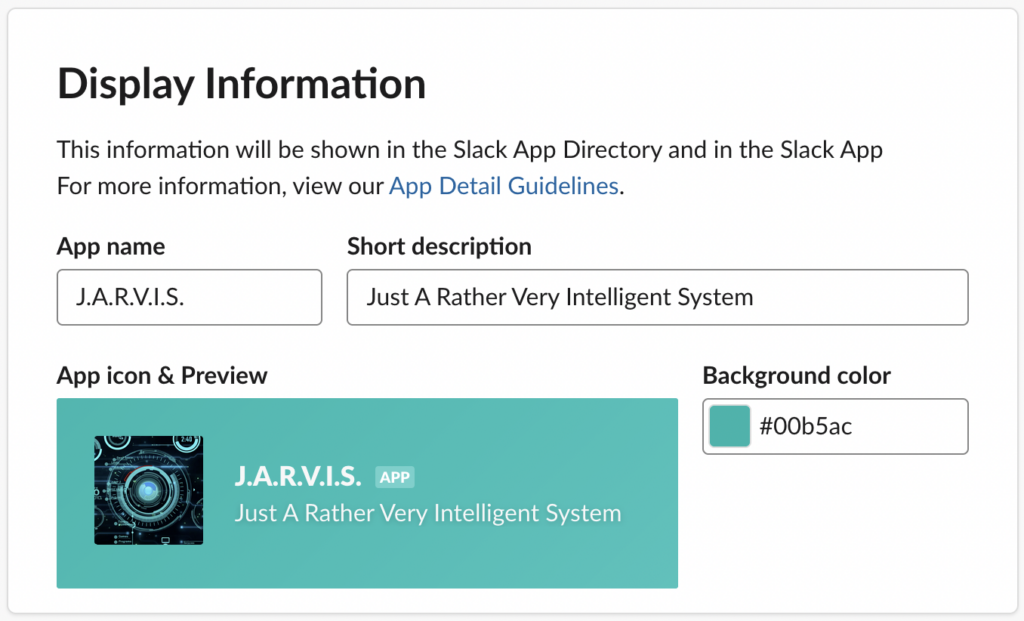
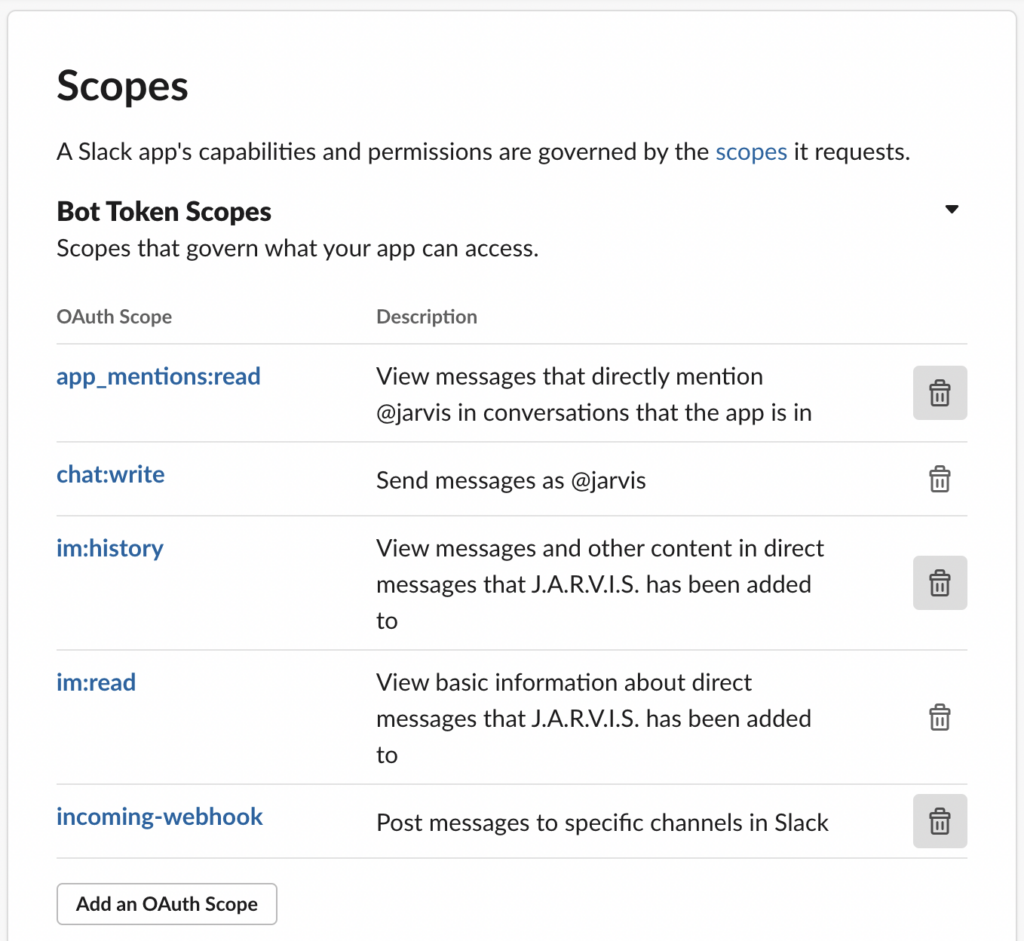
To do this, we have to tell Slack what the app’s permissions should be. This is easily done by adding the correct Bot Token OAuth scopes, such as chat:write, im:read, im:history, and app_mentions:read. The im:read permission allows the chatbot to read direct messages sent to it, for example. For the Mission Data bot, we used each of these permissions. Once the permissions are set, we can integrate Slack and Watson Assistant using the Slack app’s authentication tokens and a generated webhook from Watson Assistant.
With the webhook setup in the Slack app, we can make sure it receives events for direct messages to and @ mentions of the chatbot by subscribing to the message.im and app_mention events. Once this is done, all that is needed is to install the app in your Slack workspace and add the app from your workspace’s available apps. You should then be able to create a chatbot thread with the app, or directly message your new robot friend to start its capabilities in Slack.
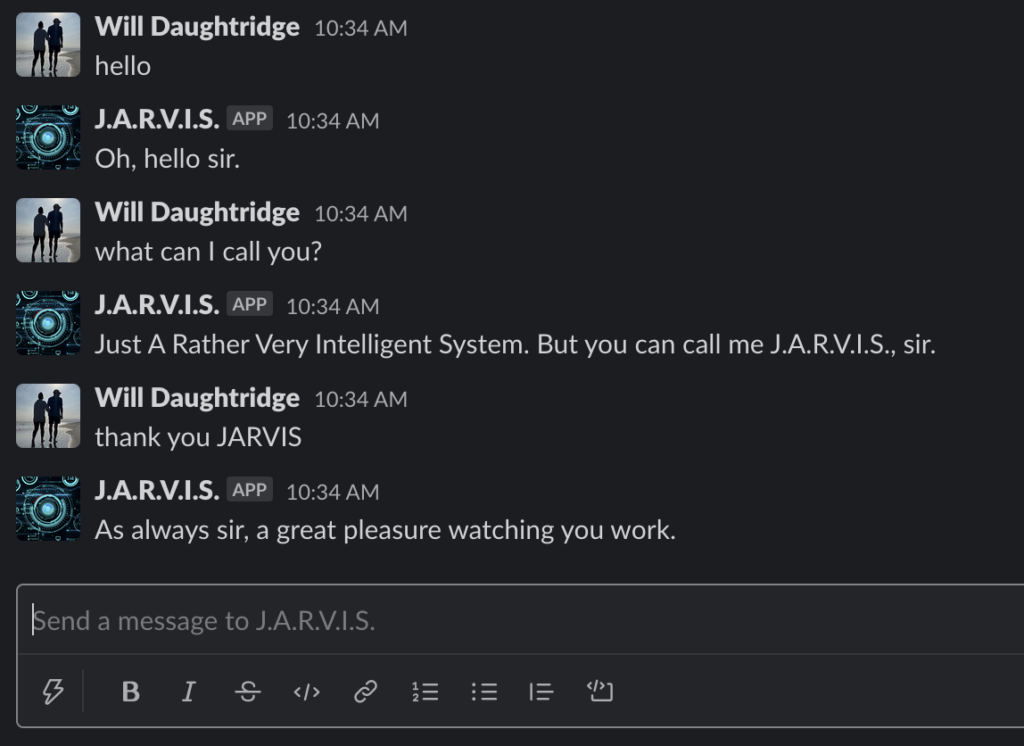
Putting it all together, we get a user-friendly chatbot integrated into Slack that can be customized for your needs. And, here it is in action…

At the end of the day, using the Watson API was both fun and interesting. It is easy to get an intelligent assistant up and running with little trouble, and there is plenty of documentation in case you do run into problems. One caveat with our approach is the limited capabilities of the Watson Assistant GUI. For our next chatbot adventure, using the Watson Assistant v2 API with a traditional programming language (Python, JS, Java) would present more possibilities for further customization. One shortcoming we did encounter was the slackbot’s inability to wake up, set context variables, and respond to a user’s question after timing out – the user’s initial question is clobbered once the slackbot’s wake-up event is triggered. This could be fixed if we used the v2 API to handle that particular edge case in a non-GUI environment. Regardless, the Watson API with Slack integration fit our needs to that last one percent of minutiae and we were able to create an assistant that intelligently handles human input.
So, there you have it! Now you know all of the tools you need to create a pretty intelligent chatbot. The Watson API provides many other useful services that can be integrated that we didn’t touch on here, such as the ability to translate text into speech and vice versa, which could be used to turn your chatbot into a voice assistant. Additionally, if integrating with Slack does not meet your needs, you can use the Watson API within a custom client written with Java, Python, or Node for even more flexibility. Needless to say, the extra time spent exploring the Watson API is well worth it, and you too can make a robot companion (some assembly required).

Did you find this topic interesting and have a project in mind? Let’s talk: https://www.missiondata.com/contact/.
About Mission Data:
We’re designers, engineers, and strategists building innovative digital products that transform the way companies do business. Learn more: https://www.missiondata.com.


